
Last updated:
Choose golf grip solvent as part of a compatible fitting system, not as a generic household liquid. Read the exact solution label alongside the grip and tape instructions before deciding what to buy. The relevant questions are whether the combination is approved, how it must be handled and when the fitted club may be used. We do not recommend improvised substitutes or a universal drying time for all products.
Link disclosure: This guide links directly to manufacturer and retailer information. No commission is assumed from these links.
Guide checked: 8 September 2026. This article uses the linked manufacturer and retailer information. We have not carried out hands-on product testing. Confirm the exact specification and current offer before buying.
| Area | Question | Decision |
|---|---|---|
| Compatibility | Is it specified for this tape and grip method? | Use a confirmed combination |
| Handling | What does the label require? | Prepare the suitable workspace first |
| Quantity | What is supplied and needed? | Compare the complete job rather than bottle size |
| Drying | When may the club be used? | Follow the selected system’s instructions |
Table of Contents
Start with the tape-and-grip combination
The Golf Pride installation guide illustrates a solvent-based fitting method. It is an example of a defined procedure, not permission to substitute any liquid that appears to make a grip slide. The tape and solution need to work together as intended.
Check whether the supplier clearly names the product and its intended use. A vague listing that includes “solution” without instructions deserves clarification before purchase. If you cannot establish compatibility with the grip and tape, choose a documented system or ask an experienced fitter to perform the work.
Read the label before setting up the job
Follow the actual product’s instructions for ventilation, protective equipment, storage, spill handling and disposal. Formulations differ, so this guide does not assume that every golf-grip solution has identical hazards or handling requirements. Keep the original label and any supplied safety information available.
Choose a work area that meets those requirements and keeps the job controlled. Do not start applying materials and then discover that you lack a suitable surface, required protection or a way to handle the product correctly. Preparation is part of the installation, not a separate optional step.
A supply example: the Pro Golf Workshop kit
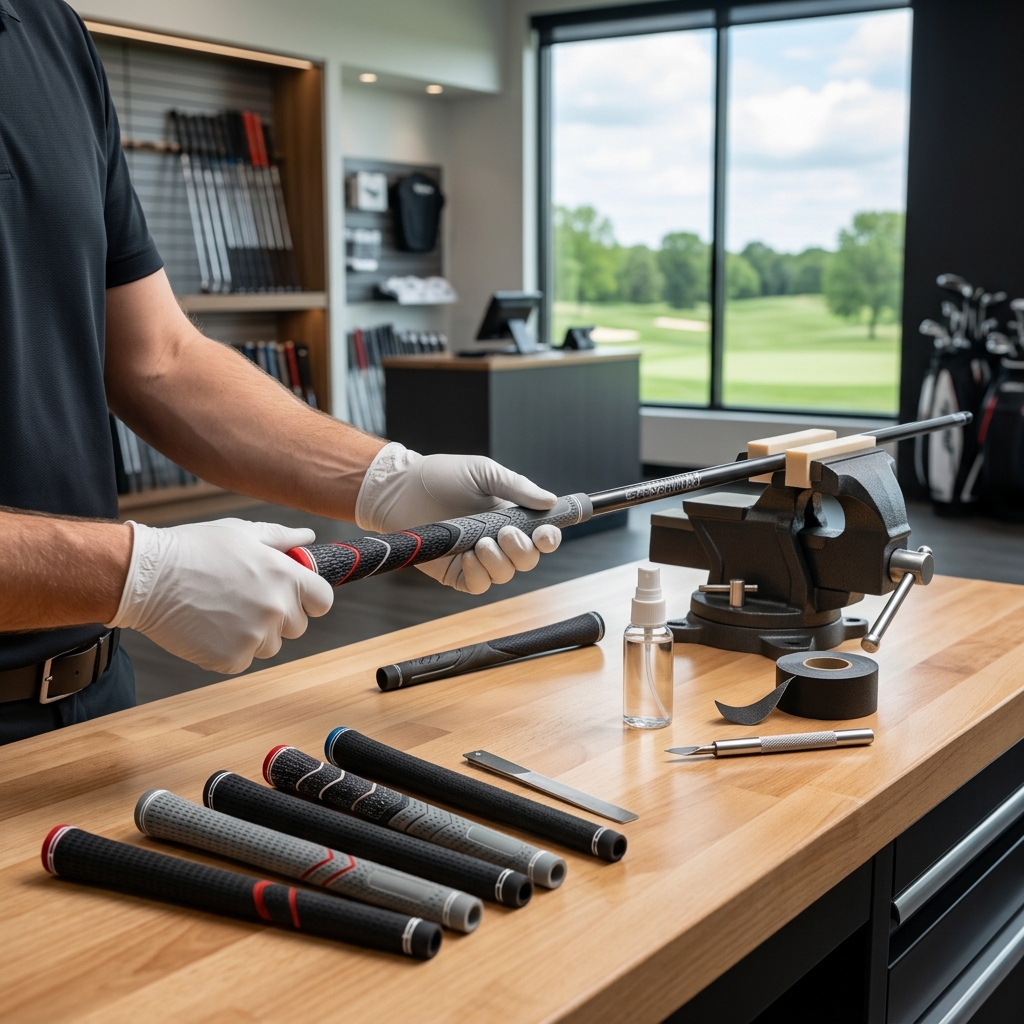
The verified kit includes tape strips, a rubber clamp and a choice of solution quantity. The selected option matters, so check the exact contents in the basket. Grips and a complete set of workshop tools are not included simply because the product is called a fitting kit.
This link is a retailer information reference. We have not compared its solution’s handling properties or drying behaviour against other products. Read the actual supplied instructions and confirm the intended tape-and-grip combination before use.
Read the product details for Pro Golf Workshop fourteen-club fitting kit at Pro Golf Workshop
Plan the timing before removing the old grip
Finish the job early enough to meet the selected products’ drying requirements before the next practice session or round. Golf Pride publishes a minimum wait in its installation FAQs, but that should not be copied as a universal guarantee for every solution and condition.
If a grip appears to move after the expected waiting period, do not treat another quick swing as a useful test. Follow the supplier’s troubleshooting guidance or have a fitter inspect the installation. The important outcome is a correctly fitted grip that is ready for use, not the shortest possible turnaround.
Compare the complete cost of fitting supplies
Account for the grips, compatible tape, solution, suitable tools and workspace needs. A larger bottle may lower the apparent cost per unit while leaving you with supplies you rarely use. A small job can have a different value calculation from maintaining several complete sets over time.
Include the correct tape and required quantity in that list. Our DIY kit and professional regripping comparison helps you compare the complete job rather than one consumable.
Compare that complete setup with a fitting service that clearly states what is included. Ask whether the quoted work covers removal, the chosen grip build and fitting. Do not assume the lowest bottle price makes home installation the cheapest overall option.
Keep the result reproducible
Record the grip model, size, tape arrangement and solution used once a suitable system has been established. Keep the instructions with the supplies so a future job does not depend on memory. Avoid mixing an unfamiliar product into the same process without checking compatibility again.
For a first installation, a representative club can help you assess the chosen grip feel before changing the entire set, provided the work is completed correctly. If the process or materials are unclear, a professional installation is a practical option rather than a failure of the DIY plan.
Buy instructions and compatibility, not an improvised shortcut
Our regripping guide covers the broader task, and the regripping-cost guide helps compare approaches. Select a documented fitting solution, prepare for its handling requirements and let the chosen installation system determine the drying schedule.