
Last updated:
A golf simulator impact screen must fit both the ball-containment arrangement and the projected image. Start with the complete room plan rather than buying fabric to match a wall measurement. Screen size, visible image area, frame dimensions and required clearances are different numbers. Confirm how the chosen product is mounted and how the rest of the enclosure manages shots before ordering a screen or making permanent alterations.
Link disclosure: This guide links directly to manufacturer and retailer information. No commission is assumed from these links.
Guide checked: 8 September 2026. This article uses the linked manufacturer and retailer information. We have not carried out hands-on product testing. Confirm the exact specification and current offer before buying.
| Measurement | What it describes | Why it matters |
|---|---|---|
| Visible image | Area used by the projector | Aspect ratio and image fit |
| Screen material | Physical screen and borders | Attachment and replacement size |
| Frame or mounting | Structure supporting the screen | Room footprint and installation |
| Clearance | Space required around and behind | Follow the complete product instructions |
Table of Contents
Draw the room before choosing the screen
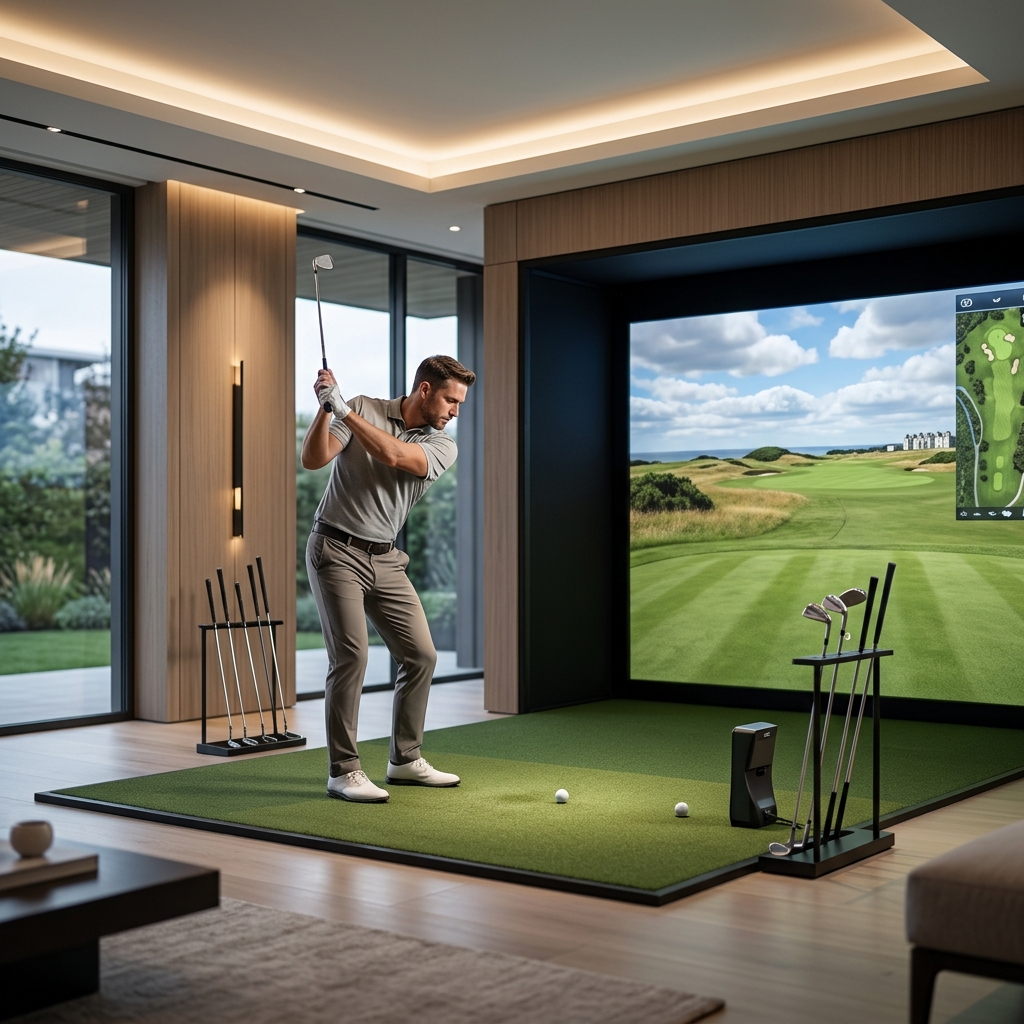
Mark the intended ball position, player area, screen plane and rear clearance. Include the projector, lighting, doors and other objects that could affect use. Check the longest club and every player expected to use the space. A screen that fits the wall does not establish a workable hitting area.
Account for the enclosure sides and top as the product requires. A screen is not a substitute for all surrounding containment, and a room photograph cannot establish that a particular arrangement will manage every shot. If the requirements are unclear, obtain a complete design or installation recommendation for the actual space.
A model-specific example: Carl’s Built-In Golf Room Kit
Carl’s Place describes a built-in screen kit with a cable-based mounting system and its own installation guide. That guide requires at least one foot between the screen and back wall. Use it only as a requirement for that product, not a universal clearance for all screens.
The linked manufacturer is US-based; UK supply and delivered terms are not verified here. The installation guidance also makes assumptions about the supporting structure. Confirm that the exact kit, mounting surface and full instructions suit your project before ordering or drilling.
Read the product details for Carl’s Place Built-In Golf Room Kit at Carl’s Place
Match the aspect ratio to the projection plan
Choose the visible image shape you want, then check the projector and software output. A wide image in a taller opening may leave unused space unless the system supports the intended arrangement. Do not stretch the image or rely on heavy digital correction without understanding the result.
Ask the supplier which dimensions refer to the viewable area and which include borders or attachments. Keep those measurements with the order. A replacement screen should match the intended frame system, not merely share a similar diagonal size with the original.
Check the projector alongside the screen
The BenQ AK700ST specification identifies a native 16:9 image and its own throw-ratio range. It is one projector to investigate in a complete design, not proof that any screen width will fit your room. Confirm the selected aspect ratio and lens position using the manufacturer’s planning information.
Keep the projector outside the required swing and ball-clearance areas in the final design. Mounting, offset and image size must be assessed together. We have not tested this projector with the screen kit or your room.
Follow the specified mounting and tension
Use the screen maker’s exact attachment method and tension guidance. Do not assume pulling a screen as tight as possible improves every aspect of use. The product is part of an impact system, so changes to attachment or clearance can matter beyond image appearance.
Inspect the screen, attachments and surrounding components according to the instructions before use. Keep clubs and balls clean as the maker recommends, and follow its care guidance rather than applying an unverified chemical treatment. Plan how the screen can be accessed or replaced without dismantling unrelated parts of the room.
Compare the complete installation cost
Include the frame or mounting kit, padding and containment required by the design, delivery and any installation work. A low fabric-only price is not comparable with a complete enclosure. Establish exactly what is supplied and which parts must be sourced separately.
Our home simulator guide covers the wider system. Choose an impact screen after the room, mounting and image plan are clear. The correct size is the one that belongs to a complete workable setup, not simply the largest screen you can fit against a wall.