
Last updated:
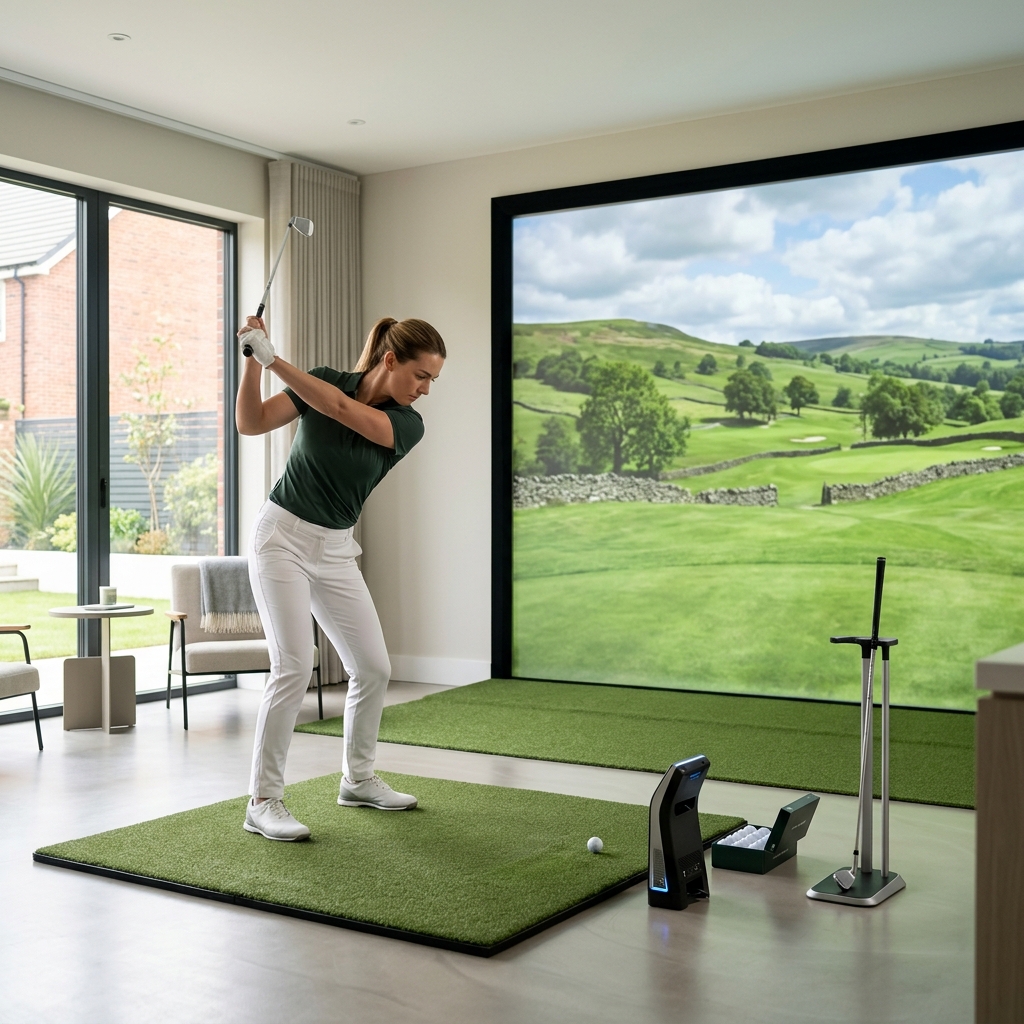
A golf simulator hitting mat should provide a suitable stance and strike area within the complete simulator layout. Choose it by the space you need to stand and swing, the clubs you will use and the monitor’s setup instructions. The small hitting strip and the overall mat footprint are not the same measurement. Check replacement options and care requirements before deciding that a low initial price represents good long-term value.
Link disclosure: This guide links directly to manufacturer and retailer information. No commission is assumed from these links.
Guide checked: 8 September 2026. This article uses the linked manufacturer and retailer information. We have not carried out hands-on product testing. Confirm the exact specification and current offer before buying.
| Part | Question | Why it matters |
|---|---|---|
| Stance area | Can the player stand comfortably? | Different clubs need usable space |
| Strike section | Is it intended for the shots planned? | A putting surface is a different product |
| Base and height | How does it sit in the setup? | Stable placement and monitor alignment |
| Replacement | Can worn sections be replaced? | Ongoing cost and downtime |
Table of Contents
Measure the assembled layout
Mark the stance area, ball positions and full mat footprint in the room. Include any ball tray, base or edge that extends beyond the visible turf. Check how both right- and left-handed players would use it if the simulator is shared. The layout may need to change between players.
Keep the mat within the approved hitting position for the enclosure and monitor. Do not move the ball closer to the screen simply because a large mat would otherwise be inconvenient. The whole arrangement must satisfy the relevant instructions, including room for the complete swing and surrounding containment.
A sectioned example: FORB Pro Driving Range Mat
The checked FORB Pro design uses separate stance and fairway sections on a rubber base, with a ball tray. Its page lists component dimensions as well as an overall footprint. Confirm the exact selected package and assembled arrangement before treating one of those figures as the total space required.
It is a hitting-mat example, not a promise that the surface perfectly reproduces natural turf or provides a particular physical-health benefit. We have not tested its feel or durability. Try a suitable demonstration if those qualities are central to your decision.
Read the product details for FORB Pro Driving Range Golf Practice Mat at Net World Sports
Check stance height and the monitor setup
Read how the monitor should be positioned relative to the hitting surface. A platform that changes the ball height can affect the required arrangement. Use the exact model’s instructions rather than copying another golfer’s floor layout or assuming the device should always sit on the same surface as the player.
For example, Garmin’s R10 placement guidance gives model-specific positioning requirements. The correct distances and alignment remain part of the simulator setup even after you add a different mat. Recheck them when changing the hitting section or moving the system.
Choose tees and hitting areas deliberately
Confirm whether the selected mat uses particular rubber tees, accepts ordinary tees or requires a separate holder. Check what is included in the package. A photograph containing several tee styles does not necessarily establish that all are supplied or supported.
Consider how you will move between irons and the driver. The routine should be straightforward without changing the approved ball position in an uncontrolled way. If the surface includes several turf textures, do not assume those sections reproduce every corresponding natural lie or produce directly comparable data.
Plan for wear and replacement
Ask whether the strike section is replaceable and whether the replacement part is identified by an exact size or code. A modular arrangement can be useful only if the required insert can actually be obtained and fits the base. Include the likely replacement process in the cost comparison without inventing a fixed service life.
Follow the maker’s cleaning and storage instructions. Inspect the mat and base for movement or damage before use. If it shifts during a session, stop and resolve the setup rather than treating movement as a normal inconvenience. Do not add improvised fixings that conflict with the product’s instructions.
Buy the mat after the room plan is clear
Compare the complete package, delivered cost and any additional tees or base components. A smaller portable mat may suit a limited practice task, while a full stance system may suit a permanent installation. Match the purchase to the sessions you will actually complete.
Our simulator guide explains how the parts fit together. Choose a mat whose complete footprint, intended use and replacement arrangement work within the verified setup. Turf thickness or a professional label alone cannot settle those questions.