
As an Amazon Associate I earn from qualifying purchases.
Choose Carl’s DIY enclosure when a separate framed bay suits the room and you want to limit integration with the building. Choose the built-in screen route when the room construction, installation skills and permanent layout support it. A screen fixed into the room is not simply the DIY enclosure with its visible frame removed.
Research-based buying guidance, checked September 13, 2026. We have not tested this setup in person.
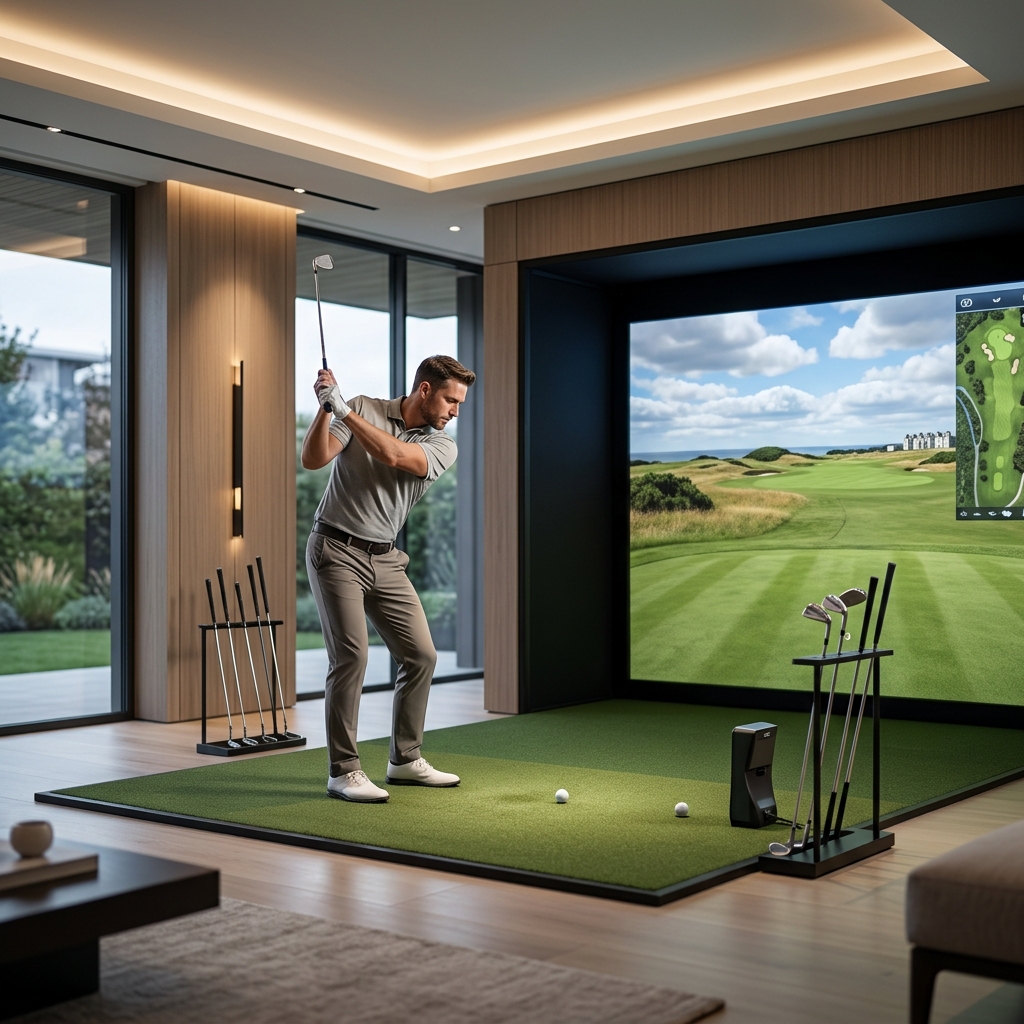
Table of Contents
Two different ways to support the screen
Carl’s DIY enclosure uses a pipe frame with a surround and impact screen. The Built-In Room Kit uses a room-integrated screen arrangement with separately chosen wall and ceiling protection. That structural difference determines the installation work and how readily the room can be changed later.
| Decision | DIY framed enclosure | Built-in screen route |
|---|---|---|
| Support | Separate pipe frame | Cables and anchors integrated with room |
| Construction work | Assemble approved frame and cover | Assess walls, alignment and fixings |
| Protection | Selected enclosure surround and options | Plan wall/ceiling protection separately |
| Future move | Disassemble and refit the kit | Reassess new room and attachment |
| Finished appearance | Visible defined bay | Integrated look with more installation work |
Read the wall assumption before ordering built-in hardware
The built-in installation manual assumes straight, even two-by-four wood-framed walls. Other construction may require different hardware or methods. If your room has masonry, steel framing, uneven walls or unknown construction, have that assessed rather than treating the supplied fixings as universal.
Trim, ceiling details and other obstructions can affect alignment. Ask the installer to identify the support locations and the resulting screen plane on the measured plan. Do not cover uncertain fixings with decorative panels and hope the finished appearance means the structure is sound.
Protection belongs in the budget from the start
A built-in impact screen does not by itself cover every exposed wall, ceiling edge or object in the room. Decide how the supplier’s approved panels, curtains or other protection will work with the golfer’s position and likely mishits. A home-theater finish and golf-ball containment are different requirements.
With the DIY option, check which side and upper protection comes with the selected kit and what remains optional. Keep the complete swing and ball paths clear. Our impact-screen guide explains why fabric selection is only one part of the installation.
Leave the screen’s required space behind it
The built-in manual plans at least one foot between the screen and rear wall. Treat that as a product installation requirement, not the total room depth or a universal rebound guarantee. The finished surface, screen movement and equipment still need to follow the full instructions.
For either format, confirm the actual screen dimensions and visible image before selecting a projector. Do not squeeze the screen against a wall merely to recover a few inches for a swing. If the room cannot satisfy all the requirements together, change the plan.
Consider repair and later changes
Ask how you will access the screen attachments, replace worn material and inspect covered hardware. A clean finish should not make routine checks impossible. If curtains or panels are added, keep an access method that does not require dismantling the room for every adjustment.
For a rented space or a room likely to change purpose, compare the consequences of holes, trim alterations and custom dimensions. Our simulator equipment overview helps separate the enclosure choice from the electronics, which may move more easily.
Request an installation-ready quotation
Have the quote identify the screen, support hardware, frame or building work, protection and labor. Include the actual room measurements and construction assumptions. Avoid comparing a bare built-in screen price with a fully selected enclosure.
These affiliate links open Amazon US search results for the named equipment or accessories.
Check the exact model, generation and seller. Results can include alternatives; a search link does not confirm availability. Use the official supplier links for specialist products and services.
The DIY route is attractive when a distinct framed bay meets the need. The built-in route is attractive when the room and installation can support a finished integrated arrangement. Choose the structure first, then specify the appearance around a complete, inspectable installation.
Sources and method
We checked Carl’s Place DIY enclosure kit, Carl’s Built-In Golf Room Kit, Carl’s Built-In Screen installation manual. Product facts come from these official sources; the decision steps are our editorial guidance. Confirm the exact US package and current terms before ordering.